Simplified Photo Workflow
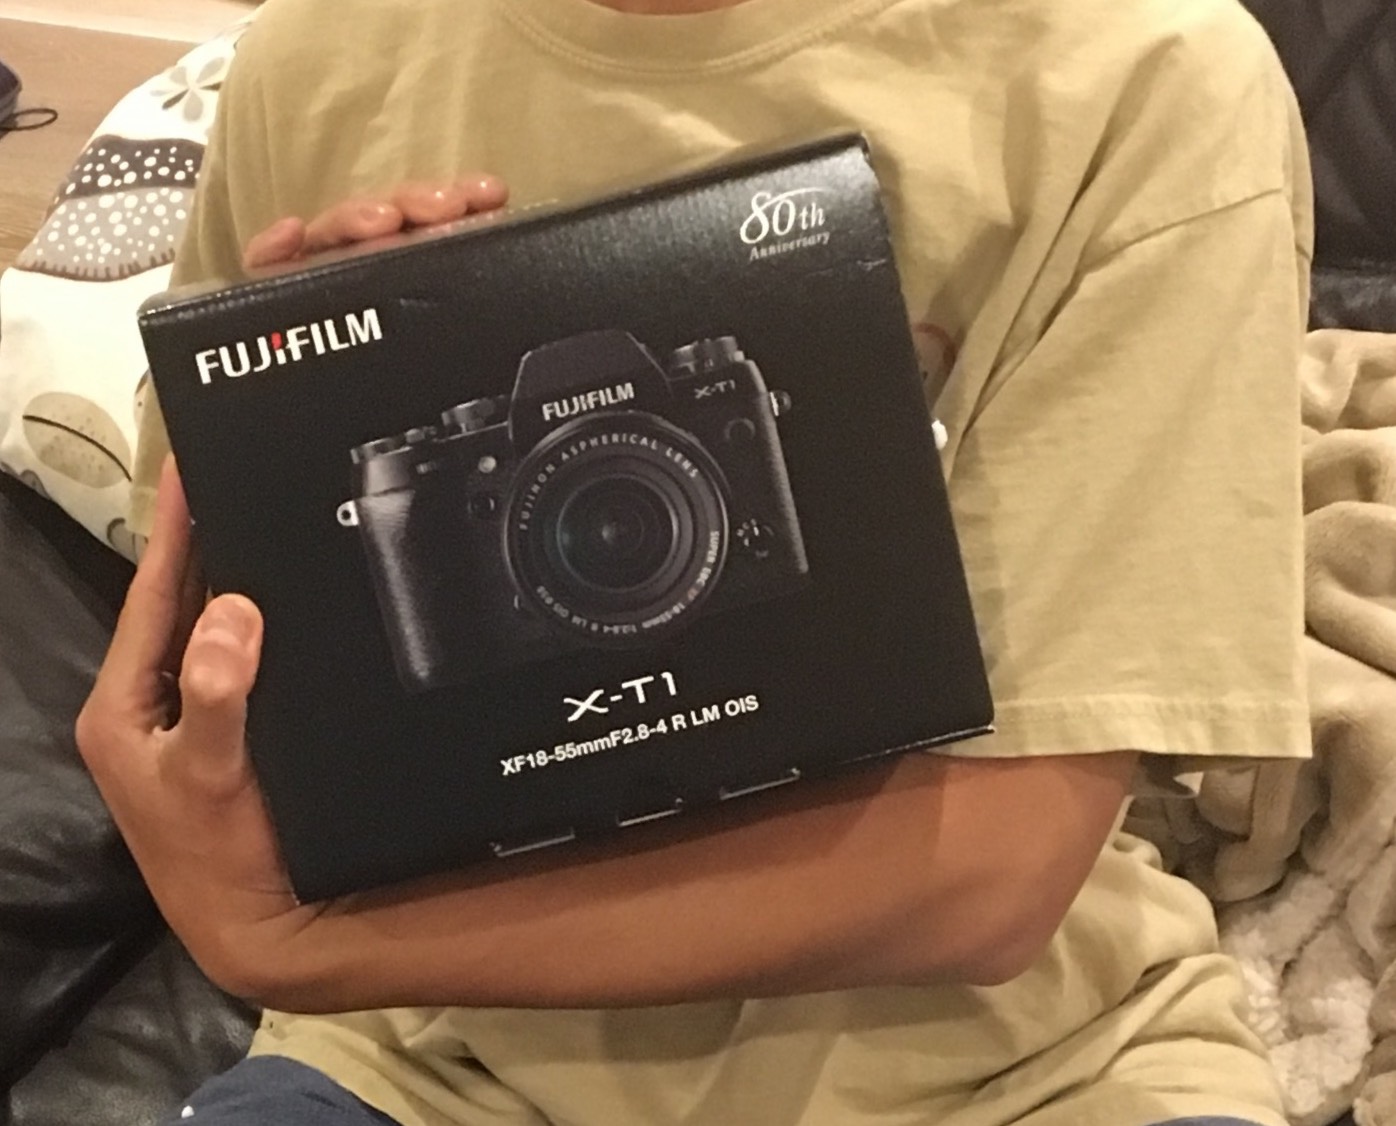
Many of you know that I’m into photography as a side hobby. For many years I was happily shooting Canon DSLRs and using Apple Aperture to organize and develop photos. In 2014, Aperture development stopped, but I haven’t had time to research alternatives. This year, I picked up a Fuji X-series mirrorless, and renewed my devotion to photography. I love it - by the way - but that’s the subject of another post. I joined multiple online groups. It was the perfect time to take a step back to re-examine my workflow and see if I could simplify it.

Even when I was shooting Canon, I was not really a RAW Shooter. As someone with three young kids, I just don’t have the time for elaborate RAW processing. Now that I have a Fuji, with excellent out-of-camera JPEGs and built-in simulations of my favorite Fuji films like Velvia, plus HDR software, I feel the need to shoot RAWs has decreased even more. Thus I’m looking for a simple workflow, ideally one where I don’t have to be tied to a single vendor that I need to continuously fork over a subscription for.
Requirements:
- I’m a software developer and use Mac only. Not afraid of the command line.
- Ideally, ability to work directly with file folders and structures. No need for import. This really simplifies things and makes it easier to port changes across tools, or to work with files and directories directly.
- 1-5 star rating system.
- Ability to tag multiple photos, remove them
- Searching across folders, ideally
- Simple editing abilities, like adjust color/highlights/shadows etc. Ideally with clone/stamp or ability to apply to multiple photos
- Ability to read existing Aperture and iPhoto libraries would be awesome. One tool to read it all!
TL/DR; my final filesystem-based solution consists of Lyn + Luminar.
A FileSystem-Based Approach to Photo Management
What do I mean by this? After all your photos always ends up somewhere on disk right? Actually many people simply import their photos, sometimes straight from SD card or even camera, straight into Photos or Lightroom or some other program and have no idea where it ends up. What I mean is to have a well thought out file folder hierarchy that takes full advantage of the file system:
- Easy to see where your photos are given any time range and the Finder, the command line, or any tool that can browse your file system. And not just originals, but versions being worked on too.
- Structured to fit your workflow
- Even things like albums are easily discoverable on disk
- Photos are stored for maximum cross-tool compatibility. No need to be stuck on one vendor’s tools (cough cough Adobe)
File system discovery leads to various cool benefits:
- Easy to integrate with command line and automation tools. I’m a developer. I want to be able to script my backups to whatever cloud service. For example, as you’ll see below, with the right hierarchy I could very easily upload only the selected files or files being edited, saving lots of time and $$$.
- No need to wait to integrate cool tools into Lightroom or whatever program. I just downloaded HDRtist, and drag and dropped the photos I wanted to work on from Lyn directly. So awesome.
- Want to version your edits? Just use git! Nobody is going to come out with a better version control system. And it’s distributed!
Example Directory Hierarchy
Note that I store everything in direct-attached hard drives for easy backup and speed. So 2016 is the first folder below /Volumes/Photos1HD/Photos or something like that.
- 2016
- Q3
- 09_Random
- 0907_Yellowstone_Idaho_Ketchum_Craters
- select
- 0907_Yellowstone_Canyon_Mammoth
- select
- 0909_Yellowstone_HaydenValley_Bison
- select
- 0916_GrandTeton
- select
- ALBUMS
- 2016Q3Selects
- Yellowstone_Landscapes
- Q3
So here are the levels of the hierarchy:
- First two are obvious - the year (2016) and the quarter (2016/Q3)
2016/Q3/09_Random- the third level are where the original JPEGs, RAWs, videos, or whathaveyou are stored2016/03/*/select- the fourth level, one level down from the source image folder, are where the promising or select images are copied to and worked on. Since the originals are one level up, I may just crop and edit and save them in place, or use file naming for versioning. Exports from editors or other tools should end up here as well. Final images from other tools such as StarStax and HDRtist are also dumped here.
Sticking to the levels of the hierarchy gives you the most benefits. Notice that ALBUMS are simply other folders, but that no originals are stored at the ALBUMS level, but all album pictures (probably JPEGs) are stored in the fourth level.
Now, if I don’t want to back up all my photos, but just the work in progress and the albums, I can simply back up everything in the fourth level, with scripts or other tools – just by matching */*/*/select ++ */*/ALBUMS/*.
If you want albums for entire year or years, you can do something like
2016/Q1-4/ALBUMS/Best_Pix_Of_2016etc.
File Naming
I think file naming helps tremendously with this organizing system. Make it so that one can easily find files with no special tools!
- Batch rename original images by location name. For the Yellowstone trip for example I named mine after each location within Yellowstone.
- Tools such as HDRtist and StarStax that operate on ranges of images should indicate that in the name
- Append the name of the tool so its easy to find images using search by the tool. For example,
DSCF3375-3376-MonoLakeSunrise-HDRtist.jpg. This indicates both the tool and the images used in the source.
With both the location and tool in the name, I can easily and quickly search for all pictures from a given tool or for all sunrises using a simple grep.
What About Metadata?
This is called the “I need my star rating and tags systems to discover my thousands of photos” section. I know, I hear you. I was an Apple Aperture user for a long time, and made sure to diligently rate and label everything.
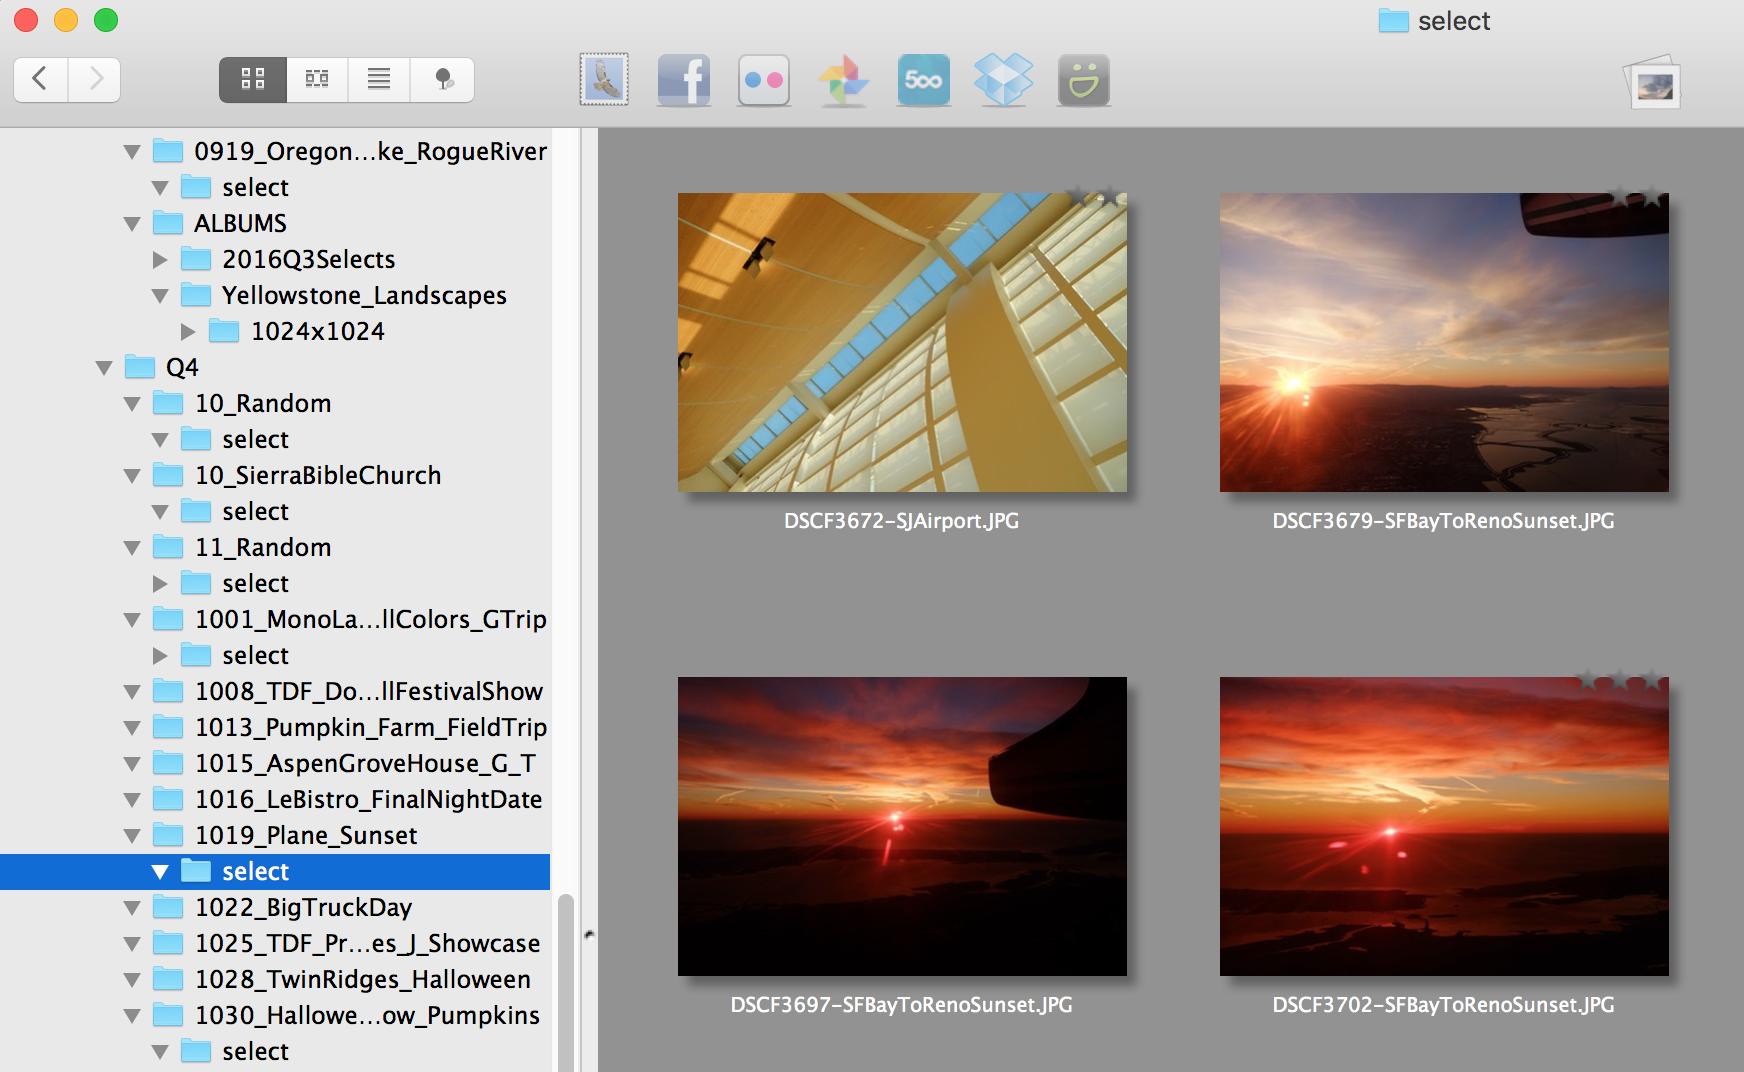
For now I’m going with a hybrid approach, using Lyn for ratings but also using the folder system above to easily discover the select photos from any app.
Final Solution
It turns out using one single tool, Lightroom style, is just not good enough. None of the alternative all-in-ones are really solid. Instead using the filesystem and a plethora of tools, each of which is good at something, works better. Here is what I’ve come up with.
Start with a Photo Browser / Manager

- Lyn ($20) - tagging, star-ratings, ability to view subfolders and filter, browse, basic edits. Bonus - can read Aperture/iPhoto libraries and Mac color labels. Pretty easy to use and work with, and has some good features:
- Great social media uploader, especially for Flickr. Allows you to set tags and descriptions for each individual photo.
- Separate browser and detail windows. This is especially useful if you have multiple monitors.
- Can do edits immediately in detail window, revert to original. However, the edits are very basic, I would use it mostly for cropping.
- Can browse images in all subfolders for a configurable number of subfolders, with filtering by metadata, or searching by filename
- Can also play videos, which comes in handy for family stuff
- Photoscape X - free - for straightening, more comprehensive edits. Has in-app purchase ($30) for curves and more advanced tools. Collage and other tools. Nowadays I mostly use this to move files from SD card to HD folders, because Lyn for some reason doesn’t let you move photos between volumes.
Mix and Match Specific Editing Apps
Like Linux, I mix and match various editing tools.
- Starstax - star trail / multiple exposure stacking
- HDRtist (Mac app store - FREE!) - combining multiple bracketed exposures. MUCH better results than AfterShotPro HDR… effortless. Highly recommended.
- LightZone (open source, free) - RAW Conversion, Black and White work. Note that this article on the ZoneMapper is a must read.
- Intensify and the other MacPhun Creative Kit apps - this is my favorite editing app now. Very powerful and easy to use, including layers, presets, the ability to brush in edits, powerful microstructure enhancements. Snapheal is great for doing healing brush type stuff, and gets better results IMO than available in Lightroom/Photoshop.
I’m not decided about RAW converters yet. However the benefit of this workflow is that it is very easy to plug in different converters.
UPDATE: MacPhun’s Luminar
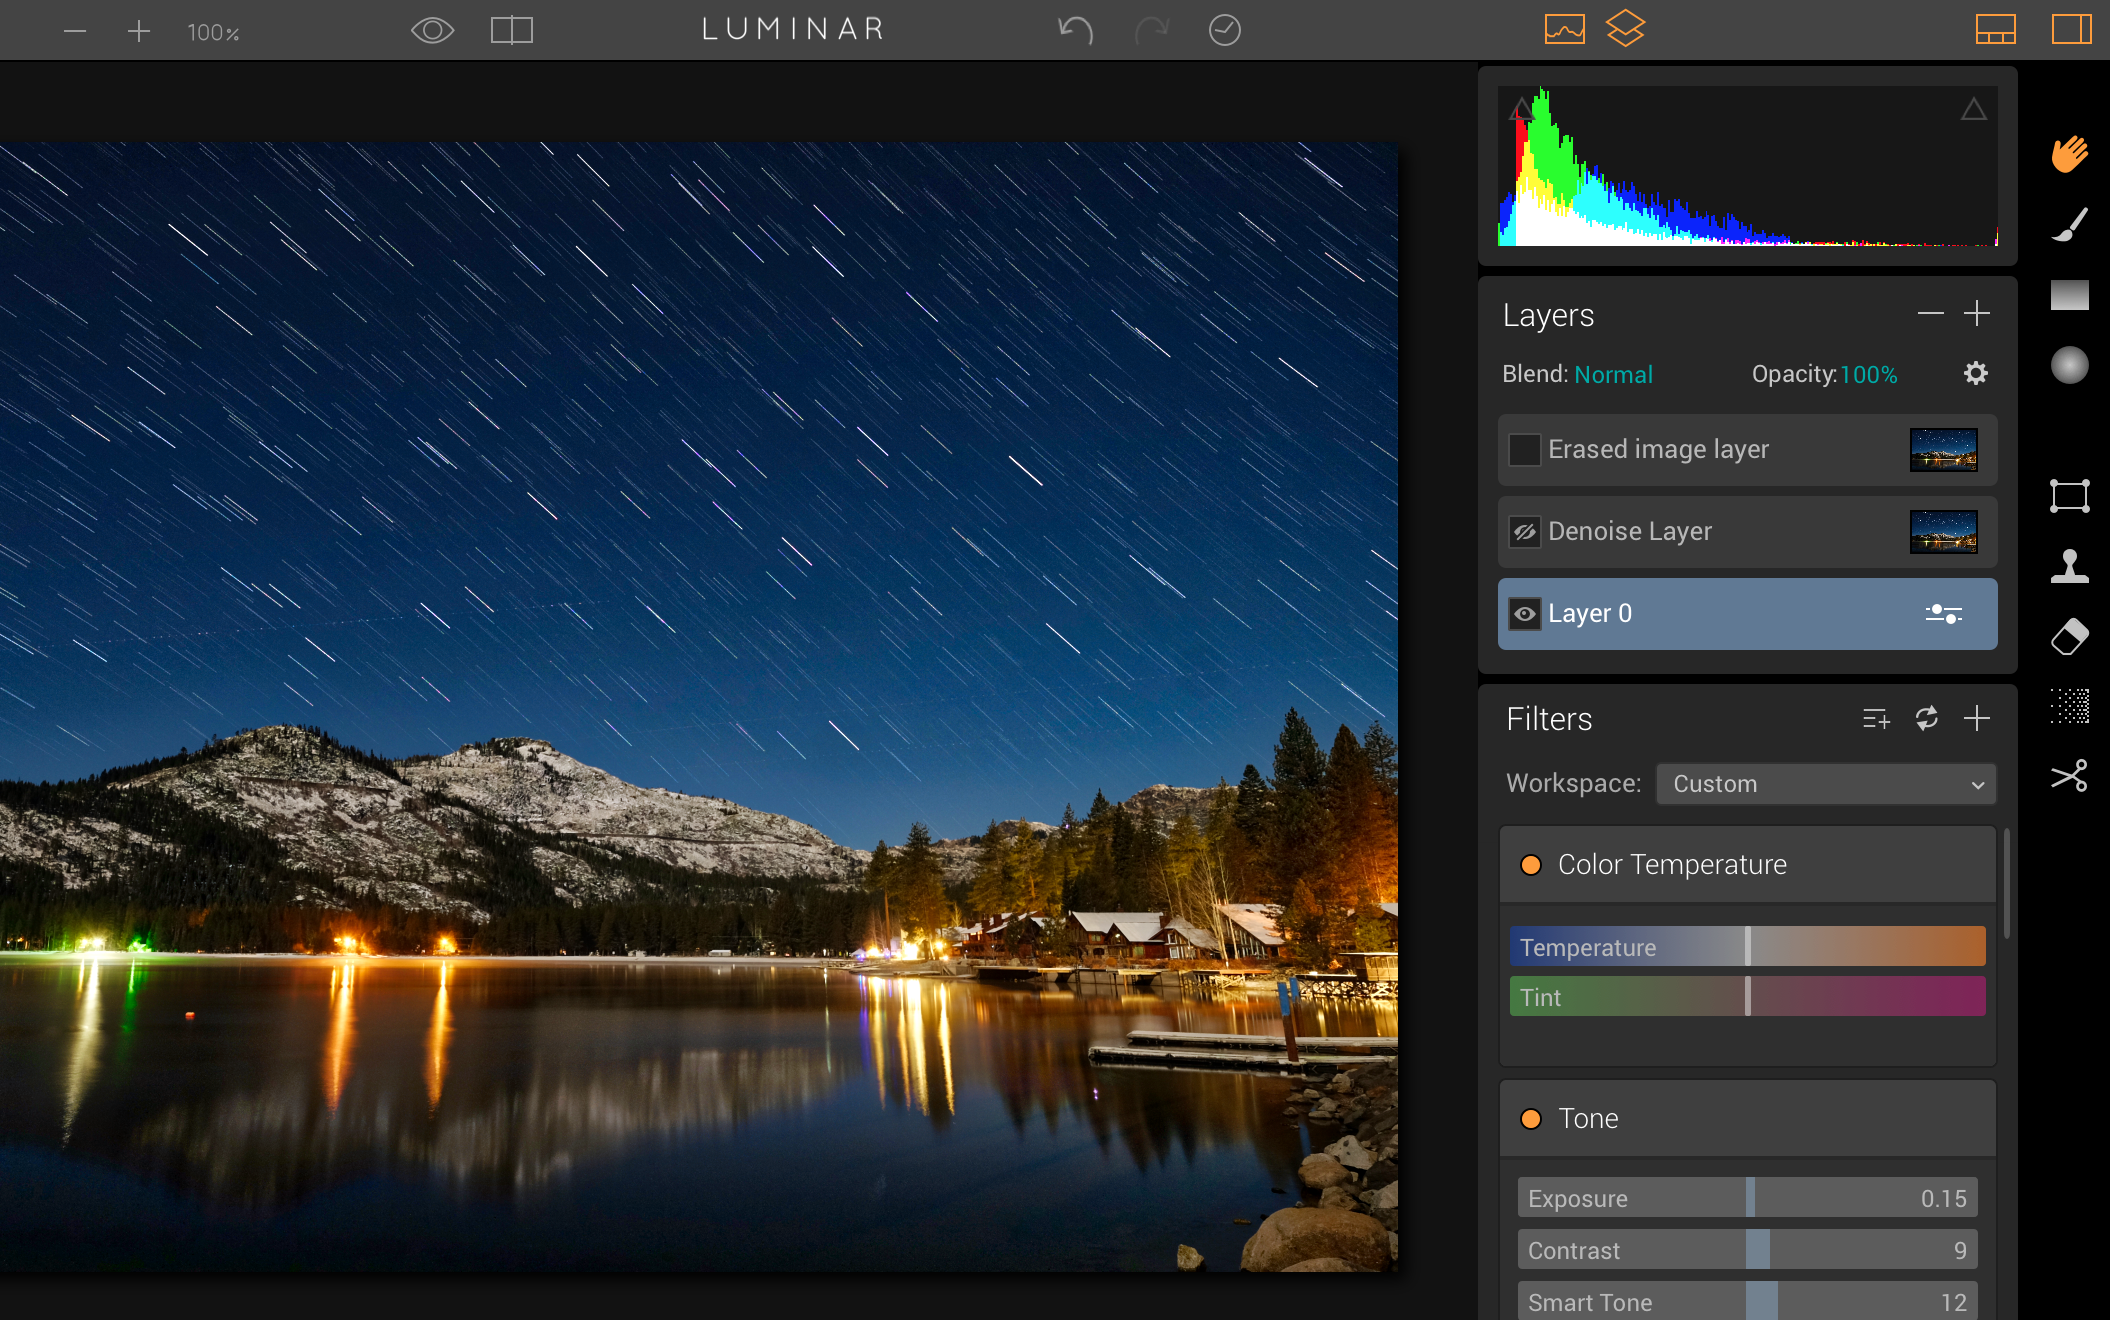
MacPhun has just released Luminar, their all-new photo editing tool. After a few days of use, I think it has the potential to replace a few other tools above and become the dominant non-special-case go-to editing tool. It is super easy to use, very customizable, but has almost everything I could want in an editing tool (basic adjustments, cropping, curves, noise removal, blemish removal, advanced microstructure stuff, RAW conversion, layers / watermarking with different blending modes). The first version is a bit slow, but for a first release it is very high quality. Reports are that it works well with Fuji RAW files. :)

Luminar editing window with star trails created with StarStax
You can’t do everything in Photoshop with Luminar, but most photographers don’t need everything in PS - they need a tool flexible and powerful enough to fit their development needs, and that is Luminar.
If you do not have any of the MacPhun apps, getting Luminar is a no-brainer at $59. It’s a much tougher call if you already have Intensify for example.
Example Workflow
- Create the directory hierarchy above
- Move photos from SD card. I actually prefer Photoscape for this rather than Lyn, because Lyn does not allow moving files from one volume (SD Card) to another.
- Using Lyn, perform first-level triage. For example, I’m in
2016/Q3/0907_Yellowstone_Idaho_Ketchum_Craters. Go through photos, delete from disk the ones that are blurry or clearly not keepers, and tag the ones that are promising and def worth keeping or sharing. - Lyn - copy tagged images to the
selectsubfolder. Maybe go through and share some on social media. - Lyn - go through
selectsubfolder, assign star ratings, tags, keywords, do some cropping and light edits - Use other external tools such as Intensify, HDRtist, Starstax etc. on original images, and export the results into the
selectsubfolder
Reader-Nominated Alternatives
These were suggested by readers after this post was initially published.
- Picktorial - great looking all-in-one photo manager and editor, RAW processing, nice patch tool
- iSmartPhoto - $4.99 browser and organizer, multi folder selection, no editing
- Hugin - open source pano photo stitcher
- Raw Power and review from TWIP - Apple RAW processor from the former lead of Aperture
The Rejects
This section is for the “What about X/Y/Z” folks. Here are some free image management apps:
- Apple Photos - it’s free and can import Aperture libraries. This is great. It is also fairly fast. However, it stores all your photos in a big timeline, with no folder organization. The only way to organize stuff is in albums. There is no way to do stars. For me the lack of organization is more difficult. I use some other tools for occasional RAW conversion, star trail stacking, etc. and save later copies of photos. Without folders this makes finding and organizing difficult.
- Unbound - folder based, but otherwise like Photos, only albums for organization. Supposed to be super fast. No editing. Also cannot try, it’s App Store based. $9.99. :(
- DarkTable - it’s open source! Unfortunately also open source Linux quality. You have to import every folder, and the UI is really clunky. Lack of Mac menus or traditional shortcuts doesn’t help.
- XnViewMP - cross platform version of Windows XnView. Super clunky UI.
I tried several paid image management and other apps too, and don’t think any of these are worth it.
- Browse - seems pretty fully featured, no editing though. Not sure it’s worth the price.
- ACDSee Mac Pro 3 - native Mac version of popular Windows all-in-one manager/editor. Lots of features, huge discount right now (70% off $99), but seems really long in the tooth. No way to easily share pictures. Also, database location is fixed, so doesn’t work with my model of portable hard drive. Also crashed regularly. :(
- Corel AfterShot Pro - cannot share pictures, kind of clunky UI, but very rich editing features. Includes HDR program, but doesn’t work very well. RAW conversion.
A Word on Backup Plans
Just recommendations from others on Fujilove forum - GSuite (former Google Apps for work - unlimited cloud storage for $10/month), Backblaze, Crashplan , Shootproof
- Jottacloud - Unlimited storage for individuals, E7.50/mo
Final Words
I’ve been using the above file sytem based approach for a couple months and loving it so far. In particular, I find going between apps and editing quite pain free. Uploading to the various Facebook photo groups is super painless now - I just drag and drop from Lyn (and could do so from Finder too) into the browser pain. Not having to import and export constantly has been awesome.
Best of wishes in your photographic journey!